Website File Uploader
The Materials Commons UI provides a way for creating directories and uploading files onto the Materials Commons server. You can access this functionality from the sidebar by clicking on the "Files" link for your project.
This will take you to a page that allows you to explore your files and directories. Clicking on the "+ Add Files" link will bring you to page where you can upload one or more files. The files will be uploaded into the Materials Commons directory you were viewing when you selected the "+ Add Files" link.

Click in or drag files into the box. Once you have selected files click on the green "Upload" button to upload the files to Materials Commons. After your files are uploaded you will be returned to the last directory you were viewing.

Globus File Upload
If you have a large transfer then you can use Globus to upload files into your project. Globus is designed to reliably handle large file transfers. If you haven't used Globus before head over to http://globus.org to get started.
To upload files into your project click on the link "Globus Upload" in the sidebar.
This will create a one time link that you can upload files to. It will then bring up a dialog with a link to the Globus UI, with this directory selected.
Uploading files
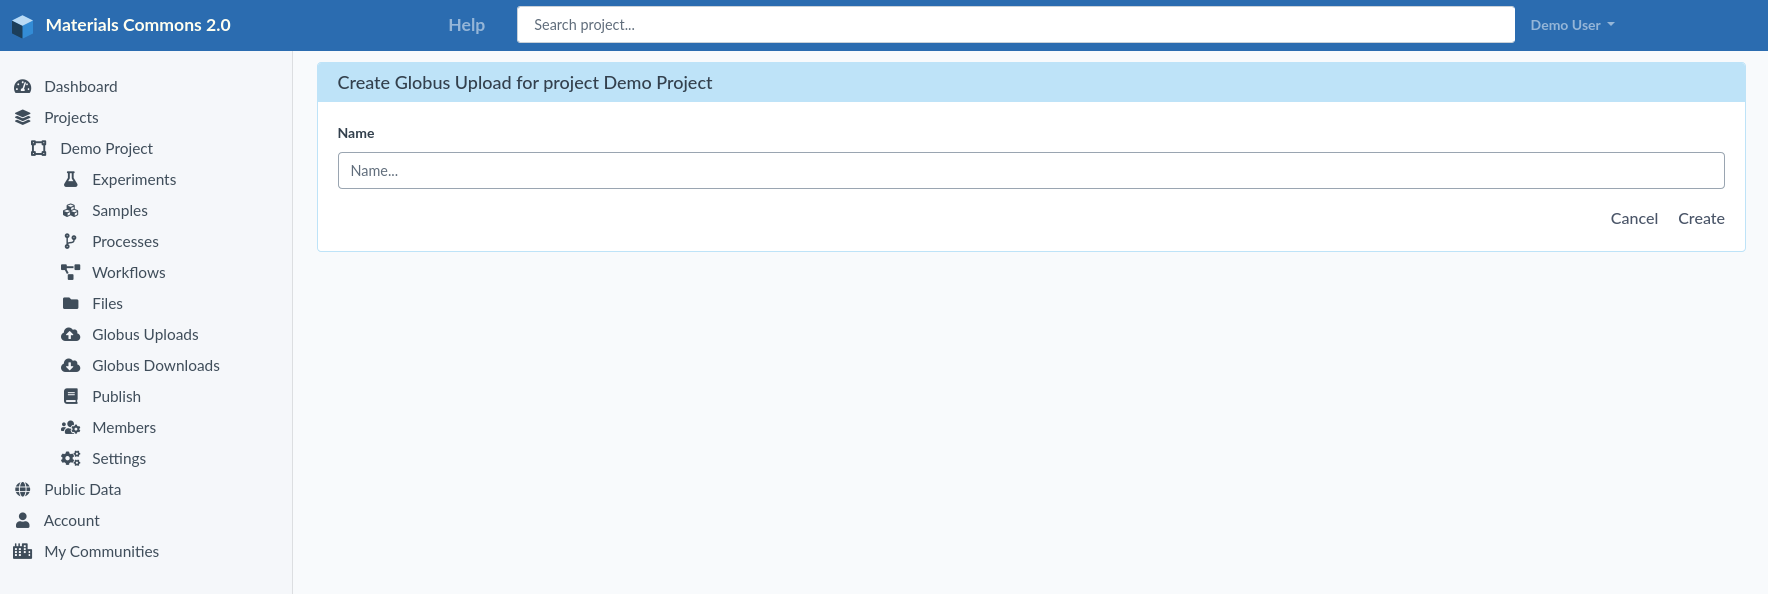
Files are uploaded into a project. To use Globus to upload new files into your project you must first be in the project. After that you can click on the "Globus Uploads" link in the sidebar. This will take you to a page that will prompt you for a name and an (optional) description. Because you can have more than 1 file upload outstanding the name and description will help you to tell them apart.
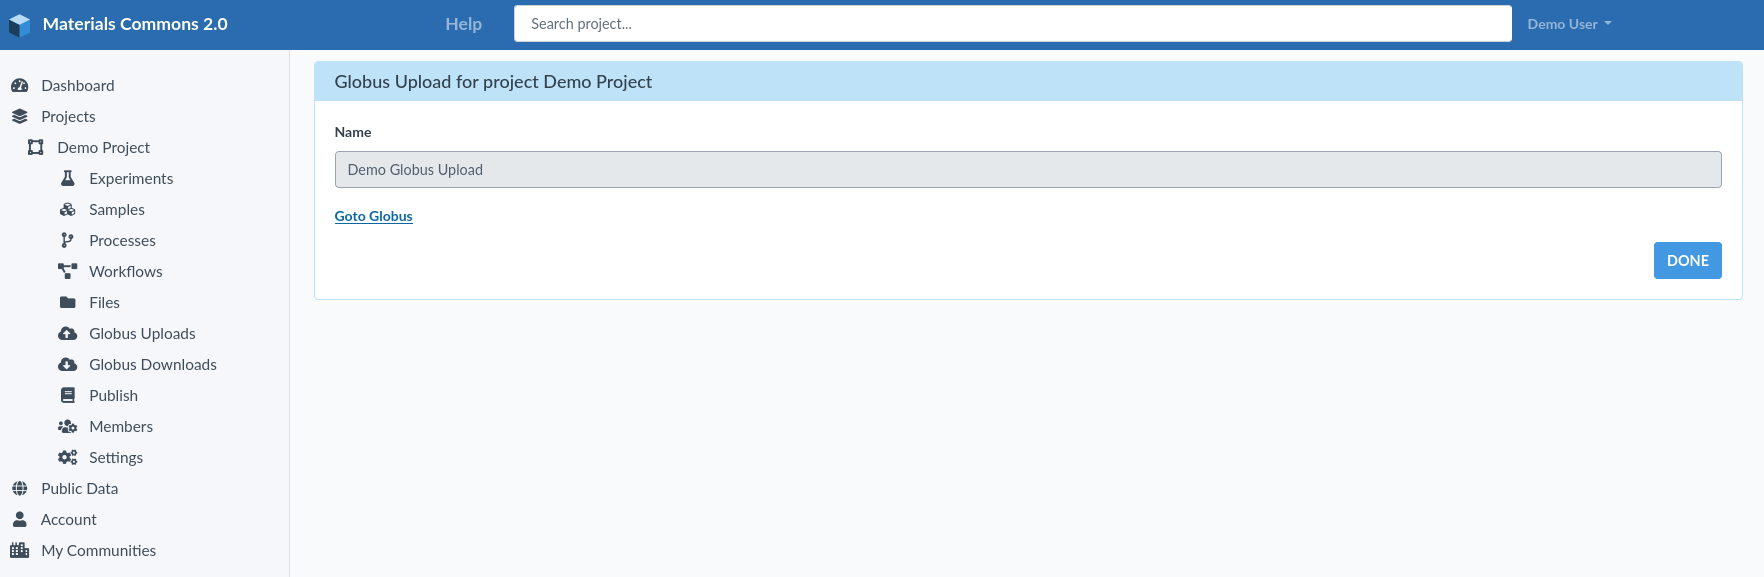
Once you have filled out the name and optional description the page will change to show you a link to take you to Globus. Each Globus upload requests gets a unique spot to upload its files to. In this way no two upload requests can interfere with each other. Click on the "Goto Globus" to be take to the Globus app to being your upload.
View Outstanding Globus Uploads
MaterialsCommons keeps track of the Globus Uploads you have created. You can find the outstanding uploads for your project by clicking on "Upload Status" in the sidebar. This will take you to a page with all the outstanding uploads for the current project.
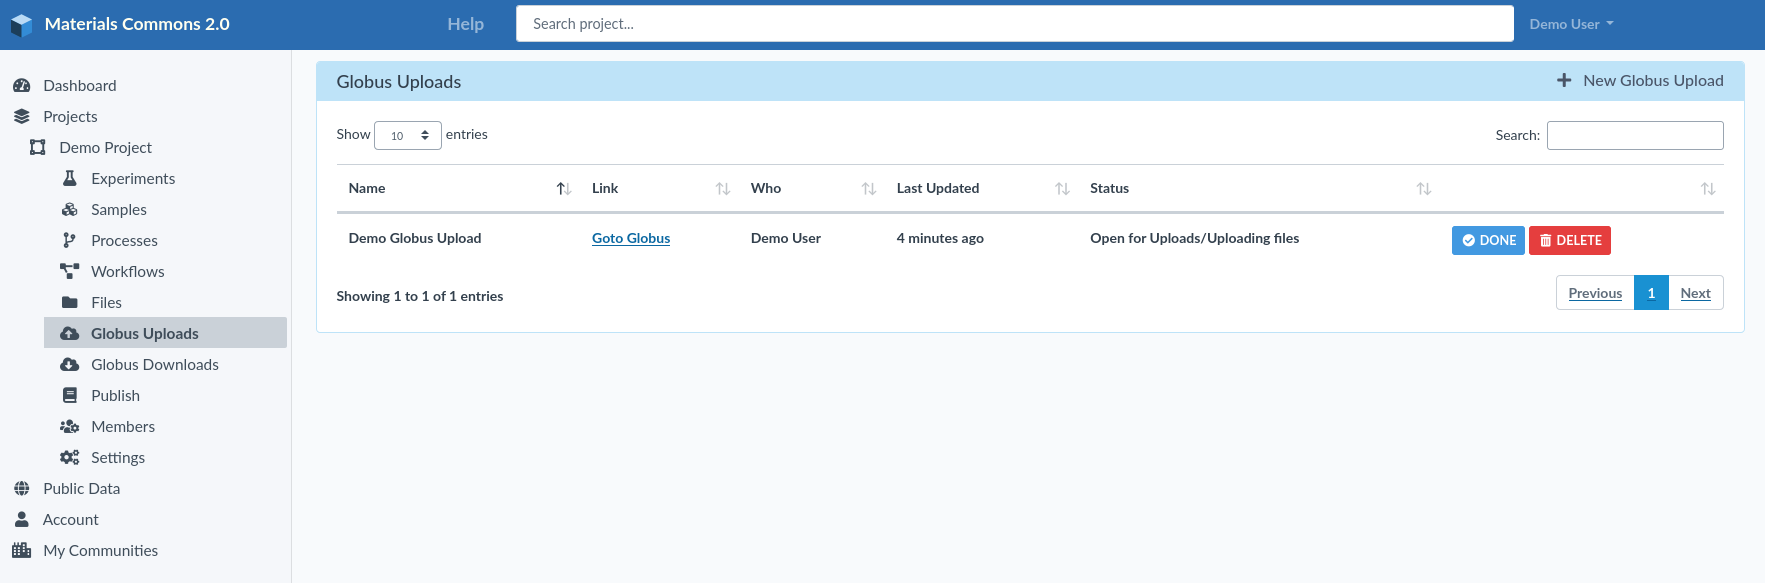
There are a number of actions you can take on this page.
- Upload additional files
- Mark upload as done (imports uploaded files into your project)
- Delete upload (uploaded files will be deleted and not imported into your project)
Upload additional files
If you select the "Goto Globus" link for an outstanding globus upload you will be take to Globus where you can upload additional files for this request.
Mark upload as done
The "DONE" button will mark a Globus upload as finished. Make sure all your files have finished uploading before you do this. The DONE button will take you to a page with a link to check your Globus uploads. Clicking on "View Globus Upload Activity" will take you to a Globus page that will show you your file upload activity.
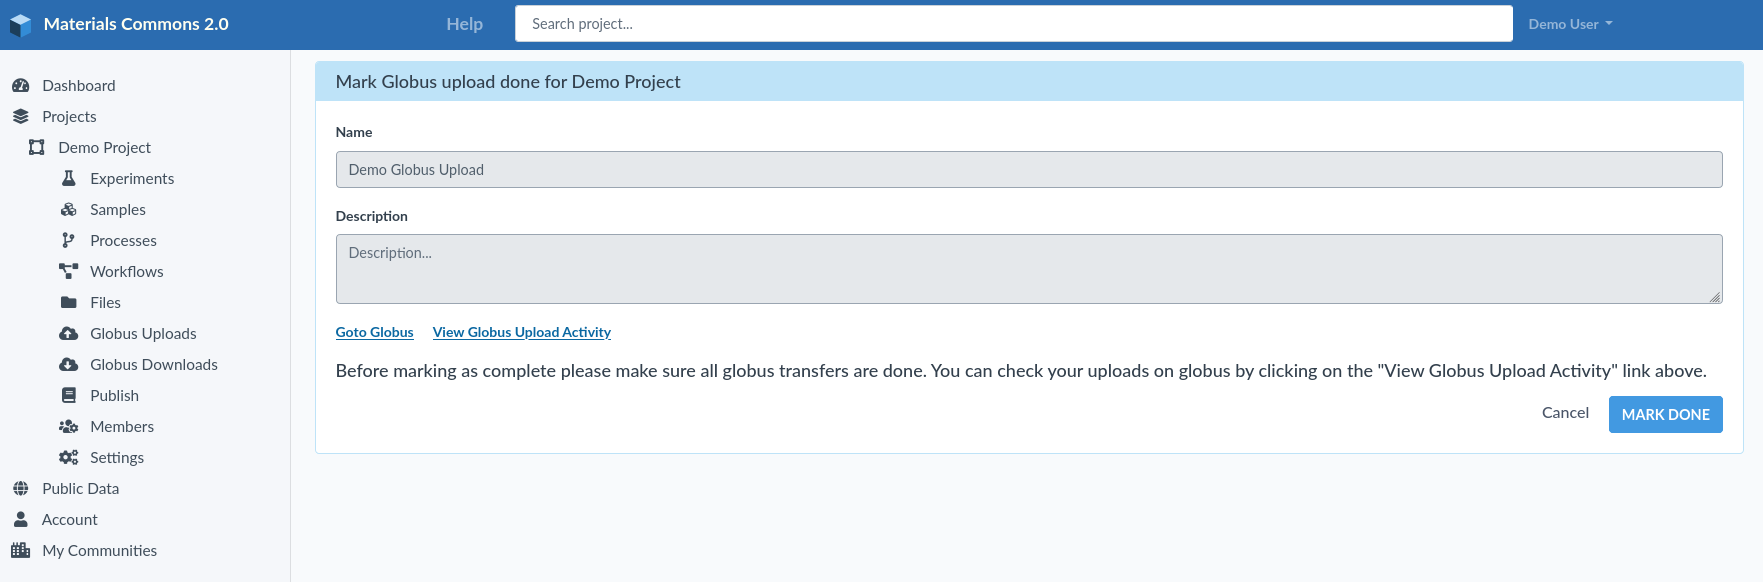
Marking a upload as done will cause MaterialsCommons to import all your file uploads into the project associated with that upload request.
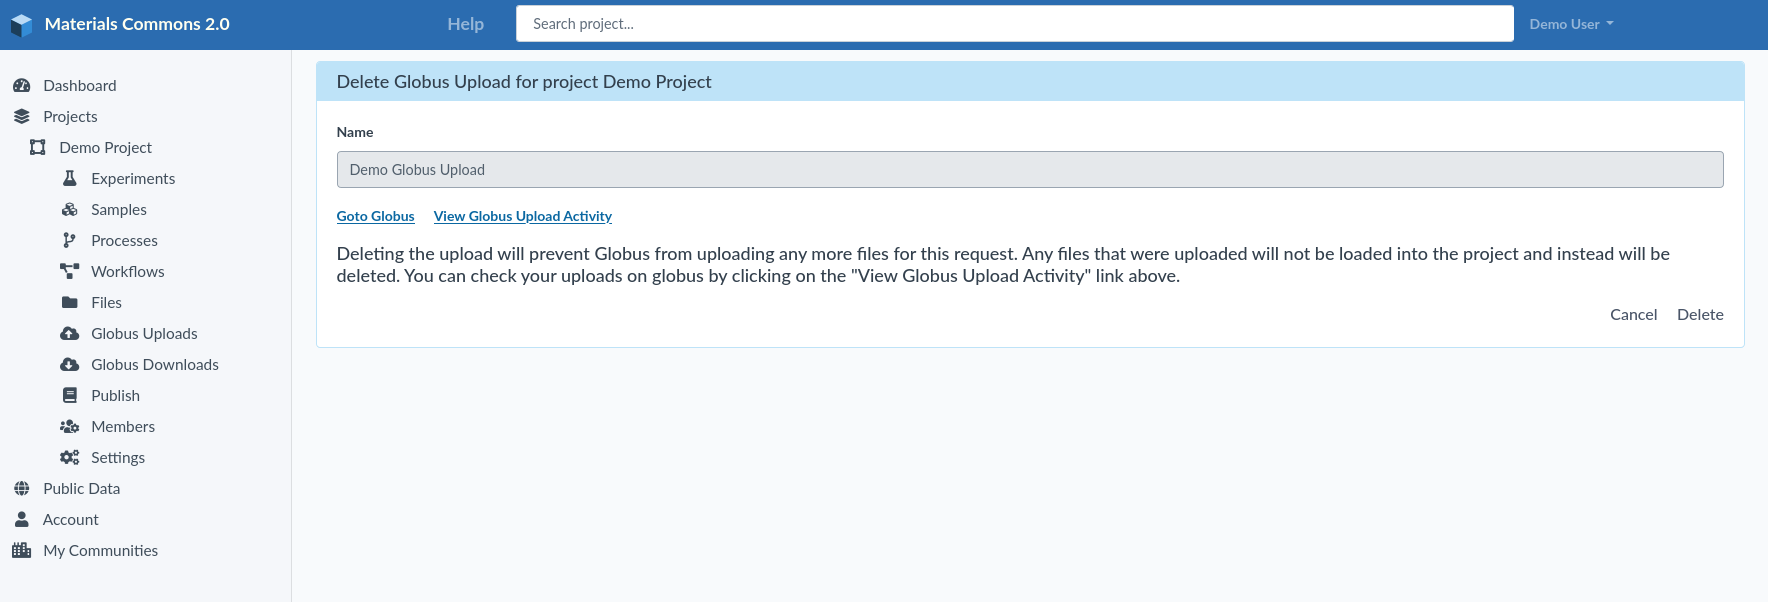
Delete Upload
The "DELETE" button will delete an outstanding globus request. Delete will remove the request and all uploaded files. Since your files have not yet been imported into your Project this won't affect your project. The DELETE button will take you to a page with alink to check your Globus uploads. Clicking on "View Globus Upload Activity" will take you to a Globus page that will show you your file upload activity.